
Introduction
A Hello Kitty cake is the perfect centerpiece for any celebration, whether it’s a birthday party, baby shower, or special event for fans of the iconic character. With its adorable design and playful charm, a Hello Kitty cake brings joy and whimsy to the table. This cake isn’t just about its cute appearance—it’s also about delicious flavors and creative fun. Whether you’re a seasoned baker or a beginner, this guide will help you create a cake that’s as delightful to eat as it is to look at. Let’s get started on making a Hello Kitty cake that will wow your guests and make your celebration extra sweet!
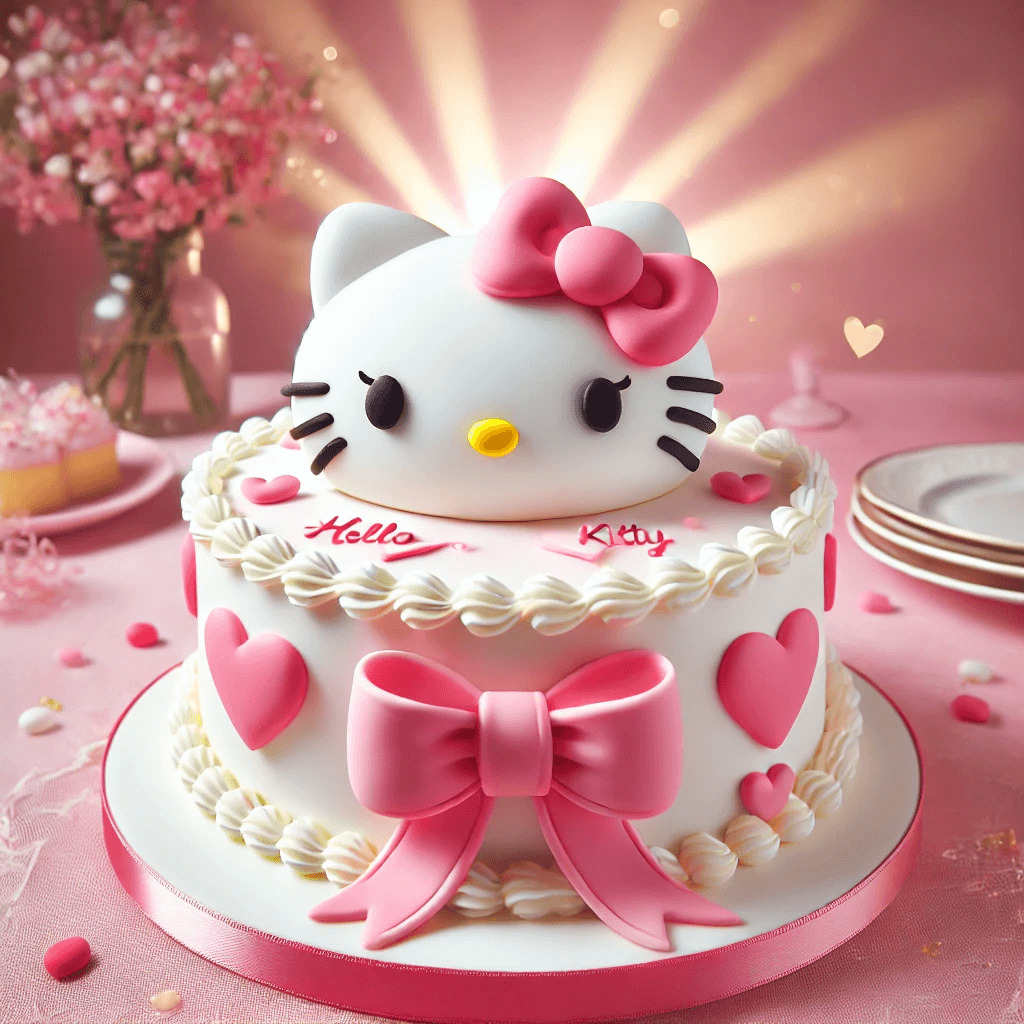
Let’s dive into a detailed design for a Classic Hello Kitty Face Cake:
Ingredients and Materials:
- Cake Layers: Choose your favorite flavor (vanilla, chocolate, or strawberry works well).
- Buttercream Frosting: White for the base, black for detailing, and pink or red for the bow.
- Fondant: Black, yellow, and pink/red for details.
- Cake Board: Round or oval to match the shape of Hello Kitty’s face.
- Whisker Tools: Piping bag with a thin round tip.
- Template: Use a Hello Kitty face outline for shaping.
Step-by-Step Instructions:
- Bake the Cake:
- Use a round or oval pan for the base.
- After the cake cools, cut it into the shape of Hello Kitty’s head. (Pro tip: Use a printed template as a guide.)
- Stack layers with frosting in between to create height.
- Crumb Coat:
- Apply a thin layer of white buttercream to seal in crumbs.
- Chill the cake in the fridge for 30 minutes to set.
- Smooth Frosting:
- Spread a final thick layer of white buttercream over the cake.
- Use a spatula or bench scraper to smooth out the frosting.
- Add the Features:
- Eyes and Nose: Roll out black fondant for the eyes and yellow fondant for the nose. Place them carefully on the cake.
- Bow: Create the iconic bow with red or pink fondant. Mold two loops and a center piece, then assemble them on top.
- Whiskers: Pipe three thin whiskers on each side using black buttercream or melted chocolate.
- Finishing Touches:
- Smooth out any imperfections with a warm spatula.
- Optionally, sprinkle edible glitter or pearls around the edges for extra flair.
- Display and Serve:
- Place the cake on a decorated board or a pastel cake stand.
- Complement with themed accessories like pink plates or Hello Kitty napkins.